Onboarding a New Jewelry Designer Onto an AI Design Platform
A jewelry-specific AI platform demands designers understand its pipeline before their first prompt.

What "AI jewelry design platform" means, the logic the designer needs to internalize before touching the interface
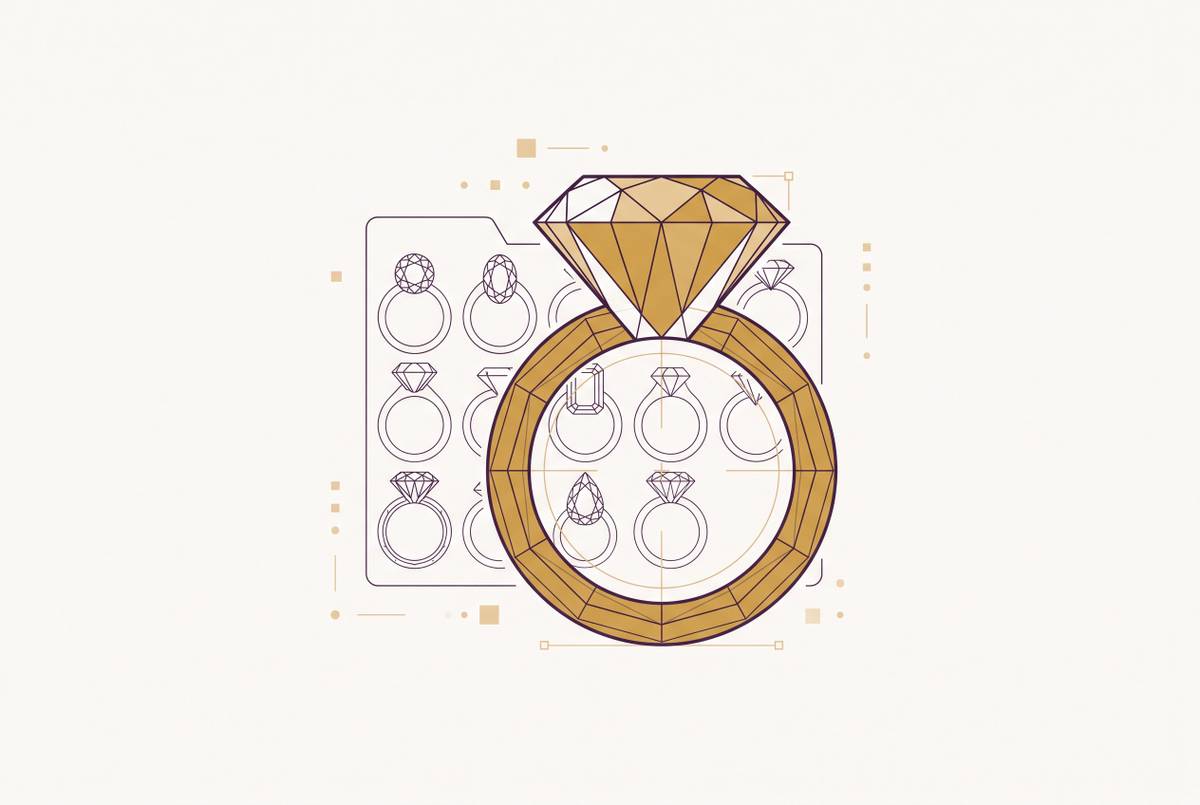
A jewelry-specific AI platform is not a general image generator that happens to draw rings. A jewelry-specific AI platform is not a general image generator that happens to draw rings, and treating it like one is the single most common mistake new designers make. Tools like Midjourney, GPT Image, or Stable Diffusion make images that look sharp, but they carry zero jewelry construction logic. They don't know when a band is too narrow to structurally hold up a large center stone. They don't know pavé needs seat depth to hold each tiny stone in place. They don't know a six-prong basket cradles a round brilliant differently than a bezel wraps around an emerald cut. Jewelry-specific platforms recognize the field's own terms and material relationships, so what comes back reflects design intent someone could actually build.
Every serious platform runs on some version of a four-phase pipeline, and a new designer needs to hold this map in their head from the first login, not figure it out by trial and error three weeks in.
Phase 1 is concept generation. A text or image prompt produces a photorealistic 2D render, and there's no geometry underneath it yet. It's a decision-making tool, nothing more. Mesh construction defines phase 2, where that flat reference gets rebuilt into actual 3D volume. Phase 3 is refinement: adjusting stone size, band width, prong position, either through back-and-forth with the AI or by editing the mesh directly. Phase 4 is export, where the finished model gets saved as an STL, OBJ, or GLB file for printing or casting.
Most people get it backwards: they treat Phase 1's output like it's already Phase 4's. A photorealistic render is a marketing asset. A watertight STL file is a production asset. Confusing the two is how a designer ends up sending a client a beautiful picture of a ring that, structurally, doesn't exist yet.
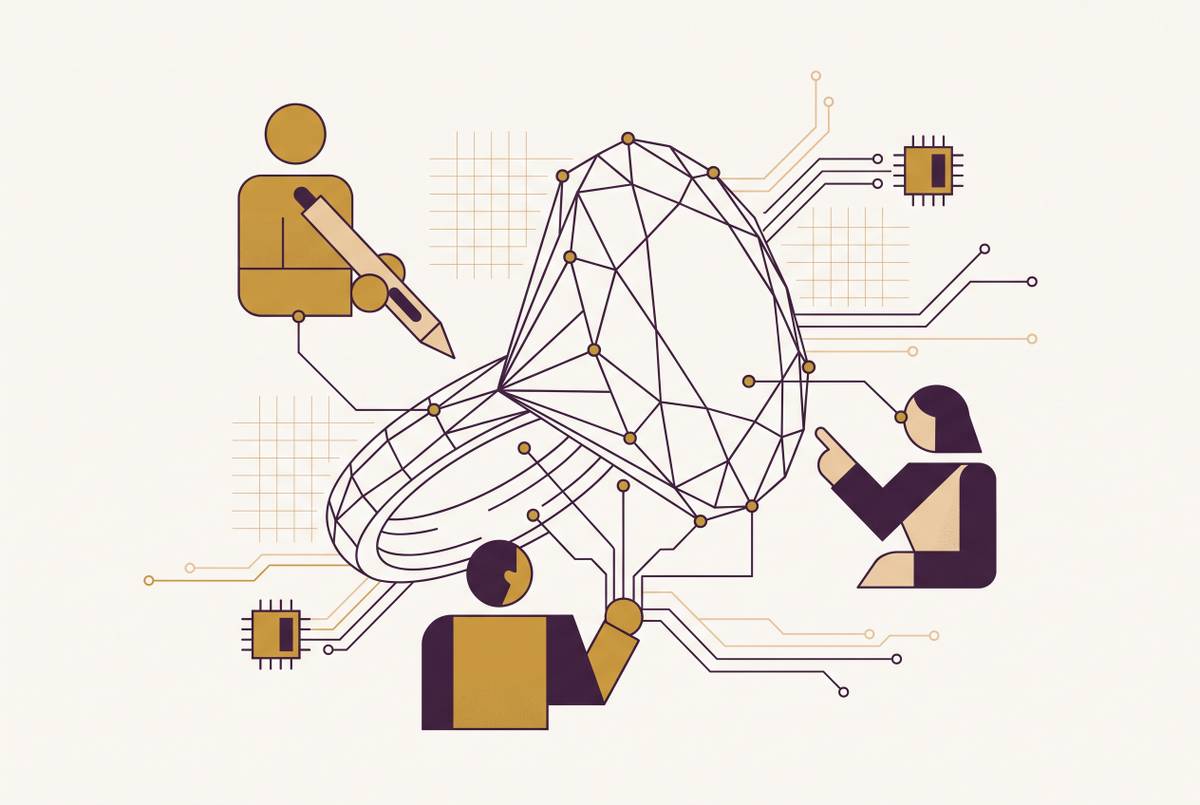
Parametric logic sits a step above basic prompt generation and deserves separate attention. Parametric platforms let a designer plug in exact numbers (finger diameter, band width, stone size, metal thickness), and the 3D model updates around those inputs automatically, no full redraw needed. That's a meaningfully higher tier than a platform that only spits out static images from a prompt. The industry is settling on a hybrid workflow as the standard, according to a Neural4D blog post: AI handles speed and iteration, a human handles manufacturing precision. Neither side does the other's job. Pretending otherwise is how bad files get made.
Orienting to the interface: what a new designer should explore before generating anything
Spend the first session exploring instead of generating. That's the right call, even though it feels slow to someone eager to see output. A designer who learns the platform's vocabulary before writing a first prompt skips the frustration of outputs that miss the point. Time spent poking around is calibration, plain and simple.
Before typing a single prompt, find the prompt or guided-creation interface, since that's where intent actually gets communicated to the machine. Then find the material and setting selectors, which surface jewelry-specific choices (metal type, gem placement, setting style) that a general image tool never offers. Check the output types the platform produces at each stage, too: image render, 3D mesh, exportable file, and where each one lives once it exists. Common output formats include image renders for client presentation and STL, OBJ, or GLB for anything headed toward manufacturing. Knowing which format the downstream step needs, before starting, saves a redo later.
Start with guided creation, not open prompting. Platforms built specifically for jewelry professionals cut down on the need for elaborate prompt-writing, which makes guided mode the faster on-ramp for building real intuition.
One question needs answering before anything else: does this platform's job end at visualization, or does it run the whole pipeline through to production-ready CAD? Whether this platform's job ends at visualization or runs the whole pipeline through to production-ready CAD is a basic question to settle on day one, because the answer determines what the rest of the workflow looks like. It's a basic one to settle on day one, because the answer determines what the rest of the workflow looks like. Finding out you're on a visualization-only tool after you've already built three concepts is a rough way to learn the difference.
The goal of this first phase is a mental map, so every generation afterward is purposeful instead of random button-mashing.
Writing prompts that produce designs worth refining, the specific skill that separates productive first sessions from wasted ones
Good jewelry prompts balance specificity with room for surprise, but a new designer should lean detailed early, not broad. Continental Bead Suppliers reports that detailed prompts return accurate, predictable outcomes, while broader prompts return more variety. Both have a place eventually. Early on, though, vague prompts return vague results, and vague results teach a designer nothing.
A strong jewelry prompt names the metal type, the stone or gem, the setting style, the piece type (ring, necklace, bracelet, earrings), a style period or aesthetic, and any structural feature that actually matters to the design.
Look at the gap between "a gold ring with a diamond" and "a brushed yellow gold signet ring with a bezel-set oval diamond and a tapered 2mm band." The first gives the AI almost nothing to work with. The second hands it material, finish, setting style, stone shape, and proportion in one sentence, and the output reflects every bit of that. The AI parses those specific elements and returns something a designer can judge at the setting level, not just at the level of "does this look nice."
Iteration is the real workflow here, not one perfect prompt chased for twenty minutes. Data from The New Black shows a jewelry-specific platform returning images in roughly 15 seconds per generation. At that speed, generating 12 variations of the same ring costs 12 credits and a few minutes of waiting. A designer picks from options sitting right in front of them instead of guessing at what might work.
AI handles some things well at this stage: pavé lines, the contrast between brushed and polished metal, faceted stones catching light correctly, enamel meeting gold cleanly. Other things need a second look every single time: symmetry across paired pieces (earrings are the classic trap), exact stone count, and engraved text, which can look right at a glance and wrong under real scrutiny. None of that gets automatic trust. A human checks it before it moves forward, full stop.
The prompt stage produces visual direction, not geometry, so the job here is choosing and narrowing. Manufacturing calls come later. A solid session ends with two or three strong candidates that can serve as the design brief for the next phase.
From concept image to 3D model, what the refinement stage requires from the designer
Going from a flat image to a real 3D mesh isn't automatic. The reconstruction step introduces variables a designer has to check rather than assume are fine. The Neural4D blog explains that modern mesh generation, using spatial processing techniques, can turn a single image or prompt into a watertight, manifold-ready 3D model, with a base mesh ready in roughly 90 seconds and a fully textured version in two minutes or more.
Speed alone doesn't guarantee stone-setting accuracy down to actual spec: prong angles, seat depth, tolerances. It doesn't guarantee wall thickness that survives casting instead of collapsing during it, shrinkage allowance specific to whatever metal got chosen, or structural integrity at true jewelry scale. A feature that looks perfectly fine blown up on a screen can fail the second it's shrunk down to a 16mm ring and dropped into molten metal.
Jewelry knowledge closes that gap, and it belongs in the workflow at this stage as a quality gate, not a bottleneck slowing things down. The designer's task here is reviewing the mesh for structural details AI can't self-certify. Refinement tools help: parametric adjustment through conversational AI, or direct mesh editing, both let a designer dial in an exact input, like a finger diameter of 16.4mm, rather than picking the closest standard size off a list. That precision separates real parametric refinement from grabbing a template and hoping it fits.
A GIA Gems & Gemology industry analysis, cited in that same Neural4D piece, found that design-to-market cycles in AI-equipped production lines have compressed from 6 to 8 weeks down to 2 to 3 weeks. That compression only holds up if structural problems get caught here, at refinement, and not after a physical prototype has already been cast and someone's holding a ring that doesn't fit together right.
What makes a file genuinely production-ready, the manufacturing checks a new designer must understand before export
A file that renders beautifully and a file that casts cleanly are not the same thing. That gap is exactly where new AI jewelry designers get their first real surprise. A Provence Jewellery manufacturing blog post lays out what a truly production-ready CAD file does: it shows a client a photorealistic picture of the finished piece before any metal gets touched, and it generates the actual instructions downstream machines use to physically build the model.
A handful of checks have to happen before that file ever gets exported, and skipping any one of them is how a client ends up with a ring that doesn't match the render. Prong thickness gets checked first: anything too thin to hold a stone securely needs to get flagged by a skilled reviewer before production, not discovered by a client after the fact. Wall thickness and material shrinkage need checking too, since the model has to account for how the specific metal behaves during casting, not just how it looks lit up on a monitor. Stone seat tolerances matter as well, because a bezel that looks flush in a render can end up not actually gripping the stone once it's cast in real gold. And the mesh topology needs to be watertight, no holes, no inverted normals, so it survives a slicer check for 3D printing without erroring out.
Once a file clears those checks, the physical path stays fairly consistent across the industry. The CAD file goes to a 3D printer that builds a wax or resin model layer by layer, or to a CNC mill that carves the same shape from a solid block of wax. That physical model becomes an exact copy of the digital file and serves as the master pattern for casting. Multiple wax models often get attached to a central stem, called a tree, so a caster can pour several pieces at once instead of one at a time. Industry survey data cited in a Tashvi AI guide shows that over 60% of professional jewelers used 3D printing in some form as of 2025.
Whatever a customer sees on a digital configurator needs to match what actually gets made, no exceptions. Any gap between the digital output and the physical result means the file wasn't production-ready to begin with, no matter how convincing the render looked on screen. Export format matters here too: STL covers 3D printing or lost-wax casting, while OBJ or GLB tend to serve other downstream needs. Knowing which one the manufacturer actually wants before exporting is part of the job, not an afterthought tacked on at the end. Once a verified file is in hand, a process like CLF Jewelry's turns around 3D renderings in 48 hours and physical samples in 7 to 10 days depending on complexity. Whether that timeline actually holds, though, depends entirely on the quality of the file going in.
Structuring the first week on the platform to build real competence, not just familiarity
Generating dozens of designs without ever pushing one through the full pipeline builds confidence without building competence, and that gap becomes visible fast, usually the first time a designer tries to hand a file to an actual manufacturer. A structured first week closes it.
Day one is pure orientation: map the interface, find every output type and export format, understand where the pipeline starts and ends. No generating yet, on purpose.
Day two is prompt practice: run 20 to 30 concept variations of one familiar piece type, mixing up prompt specificity to see how the platform interprets different levels of detail. At the speeds AI platforms deliver, this session costs almost nothing in time, and the goal is learning the tool's interpretation habits, not landing a final design.
Day three is selection and briefing. Pick the two or three strongest concepts and write out what makes each one work: material, setting, proportion. That written brief is what the 3D stage gets held accountable to later.
Day four is 3D refinement: take one concept into mesh form, apply parametric adjustments, and run it against the production checklist from the section above. Write down what needed fixing. That record is the actual learning, more than the finished mesh ever is.
Day five is export and review: export in whatever format the intended manufacturing path calls for, then send it to a manufacturer or an experienced CAD reviewer for a first honest assessment. That feedback calibrates what "production-ready" actually means for that specific type of piece.
By the end of the week, real progress looks like tracing a straight line from a written description to a verified, exportable file, and knowing exactly which point on that line still needs someone else's eyes on it. The platform never replaces judgment about construction, material behavior, or manufacturing limits, and that knowledge has to come from the designer, not the software. What the AI does is speed up what a designer already understands, and expose, fast, what they don't.
That speed compounds. A designer who has internalized the full pipeline can run through multiple design variations in under a minute and land a production-ready file in a single day, but only because the first week went toward building structural understanding instead of just getting comfortable typing prompts. That's the real payoff of parametric, production-grade platforms: a solo designer or a two-person team can put out work that used to need a full CAD department behind it. That kind of leverage only holds, though, if the first week actually did its job.