STL vs OBJ vs 3DM File Formats for Jewelry Manufacturing
Keep your working files in 3DM, export STL for casting, and use OBJ only for client renders.
If you've ever sent a file to a casting house and gotten back a piece that looked like it was carved out of a potato, this one's for you. File format is not a footnote in jewelry production. It is the decision that determines whether your design survives contact with reality. STL, OBJ, and 3DM each have a specific job. Use the wrong one at the wrong stage and you don't just get a bad file. You get a bad casting, a wasted mold pull, or a client change request you can no longer actually fulfill.
Here is exactly what each format does, where it belongs, and where it will quietly ruin your day.
3DM Is the Working File. Full Stop.
Before we talk about what to export, let's talk about what to work in. And the answer, for the entire design phase, is 3DM.
3DM is Rhino's native format. What makes it different is what's under the hood. Rather than storing your ring shank as thousands of tiny flat triangles, it stores it as a mathematical equation. A continuous, exact curve. That is what NURBS geometry is: math that describes a surface precisely, without approximating it.
In jewelry, this matters enormously. Here's what you can do inside a 3DM file that you simply cannot do anywhere else:
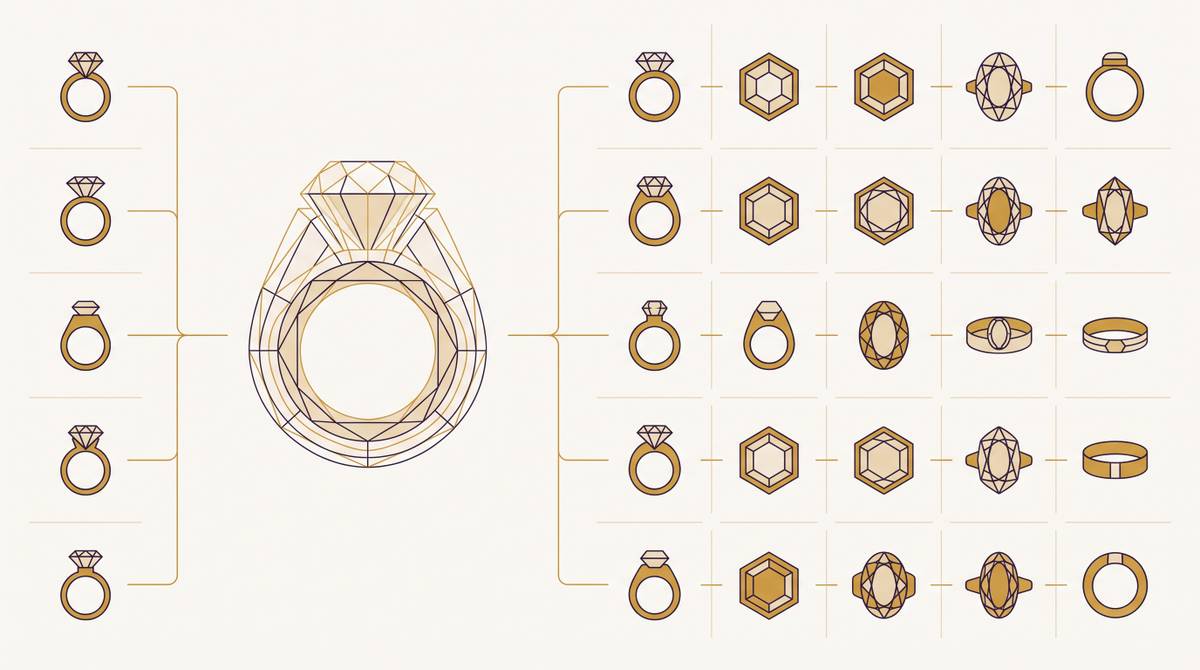
- Resize a ring shank without warping the profile or distorting the geometry
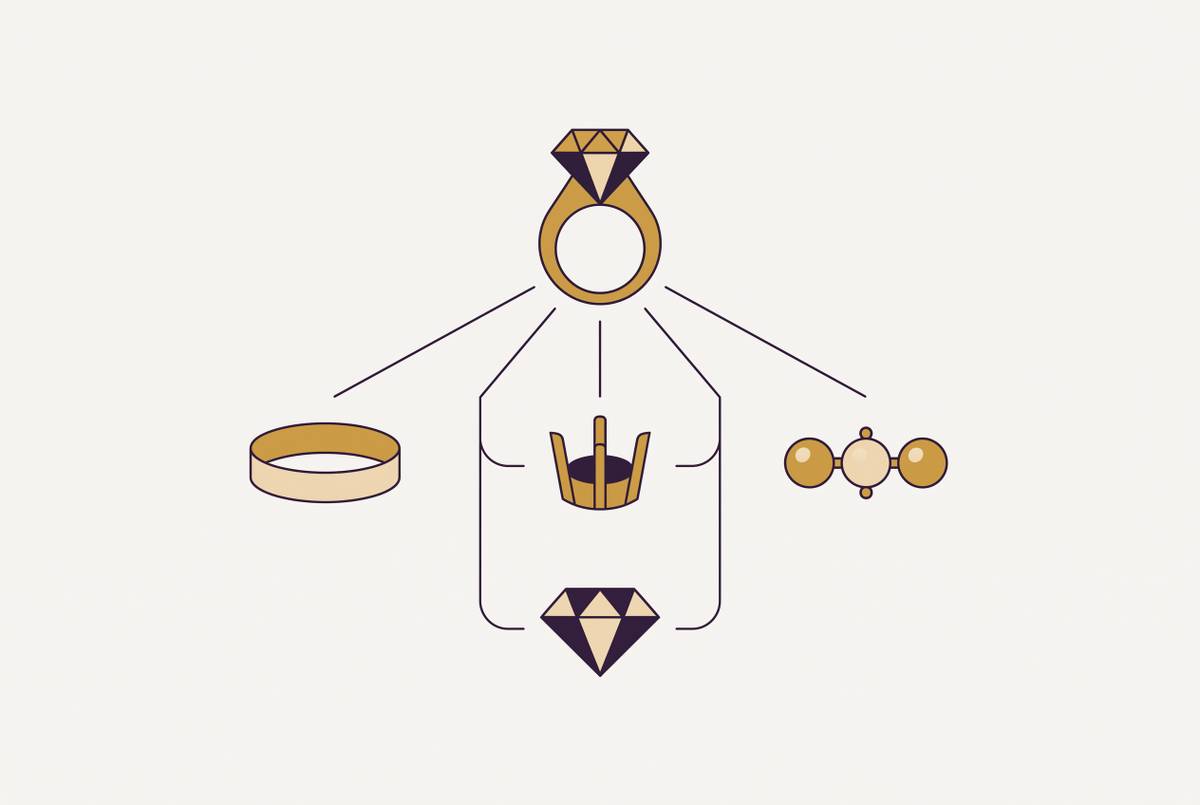
- Adjust a stone seat diameter and have the prongs, the girdle shelf, and the surrounding metal update cleanly
- Rework a setting entirely, change prong height, tweak wall thickness, rebuild a cathedral detail, all without any quality loss
A 3DM file also holds layers, materials, named views, and custom metadata. It is not just shape data. It is a complete design record.
The tools that use 3DM natively are Rhino and MatrixGold. MatrixGold is essentially Rhino configured specifically for jewelry. Pre-built parametric tools for ring shanks, stone settings, eternity bands, and size adjustments. If you work in jewelry CAD at any serious volume, you are almost certainly living in one of those two environments.
The discipline here is simple but easy to break: stay in 3DM as long as changes are possible. The moment you export to a mesh format, you close the door on non-destructive editing. More on that in the next section.
What Happens to Your Precision the Second You Export a Mesh
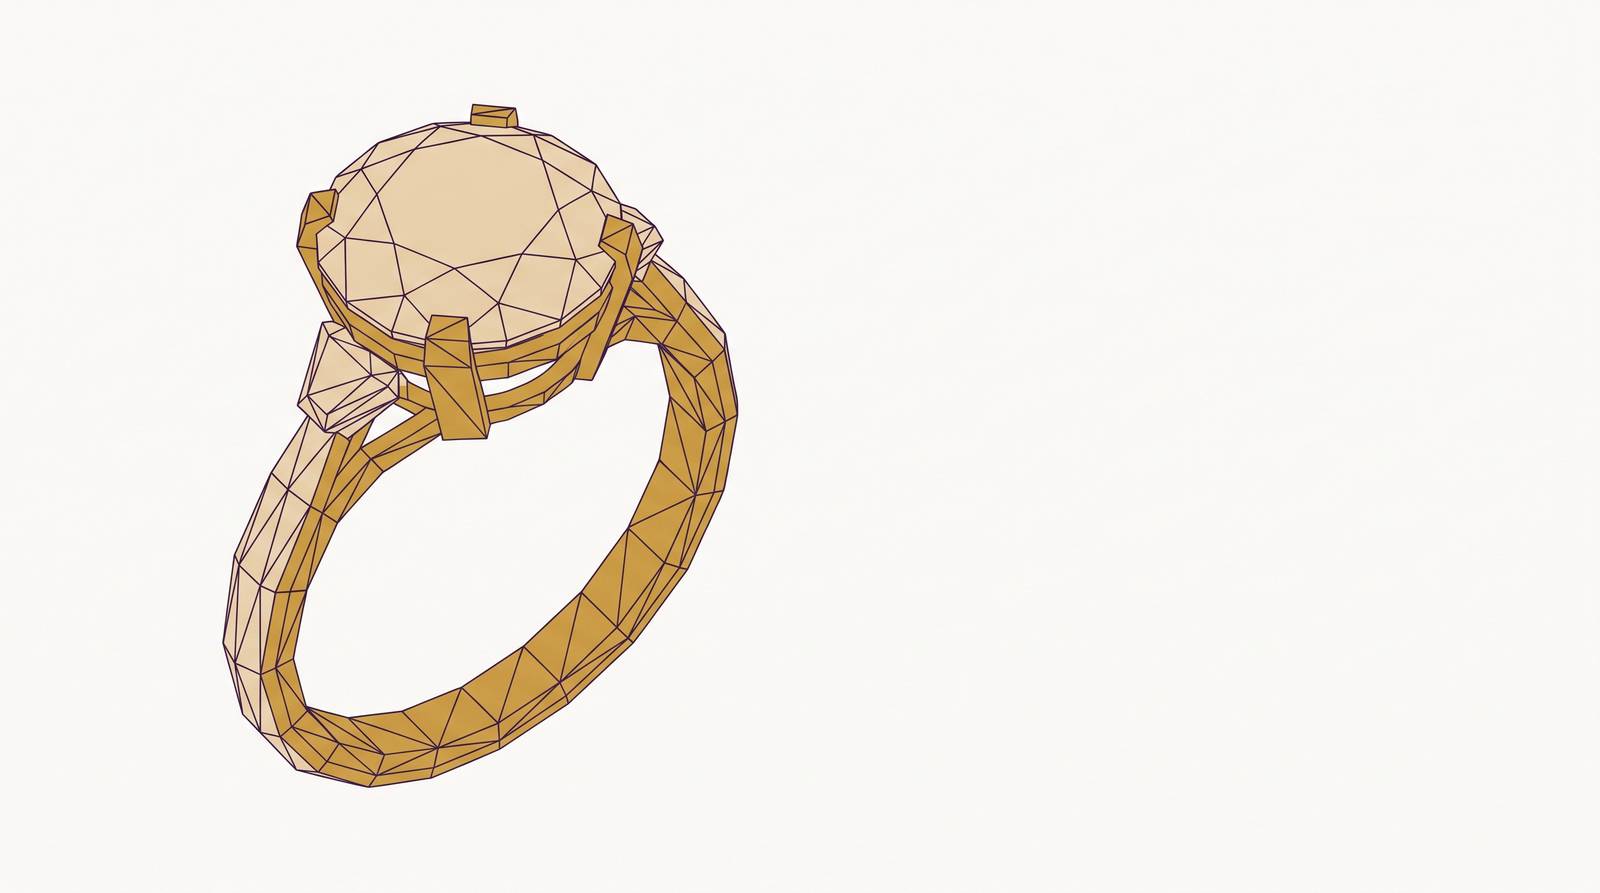
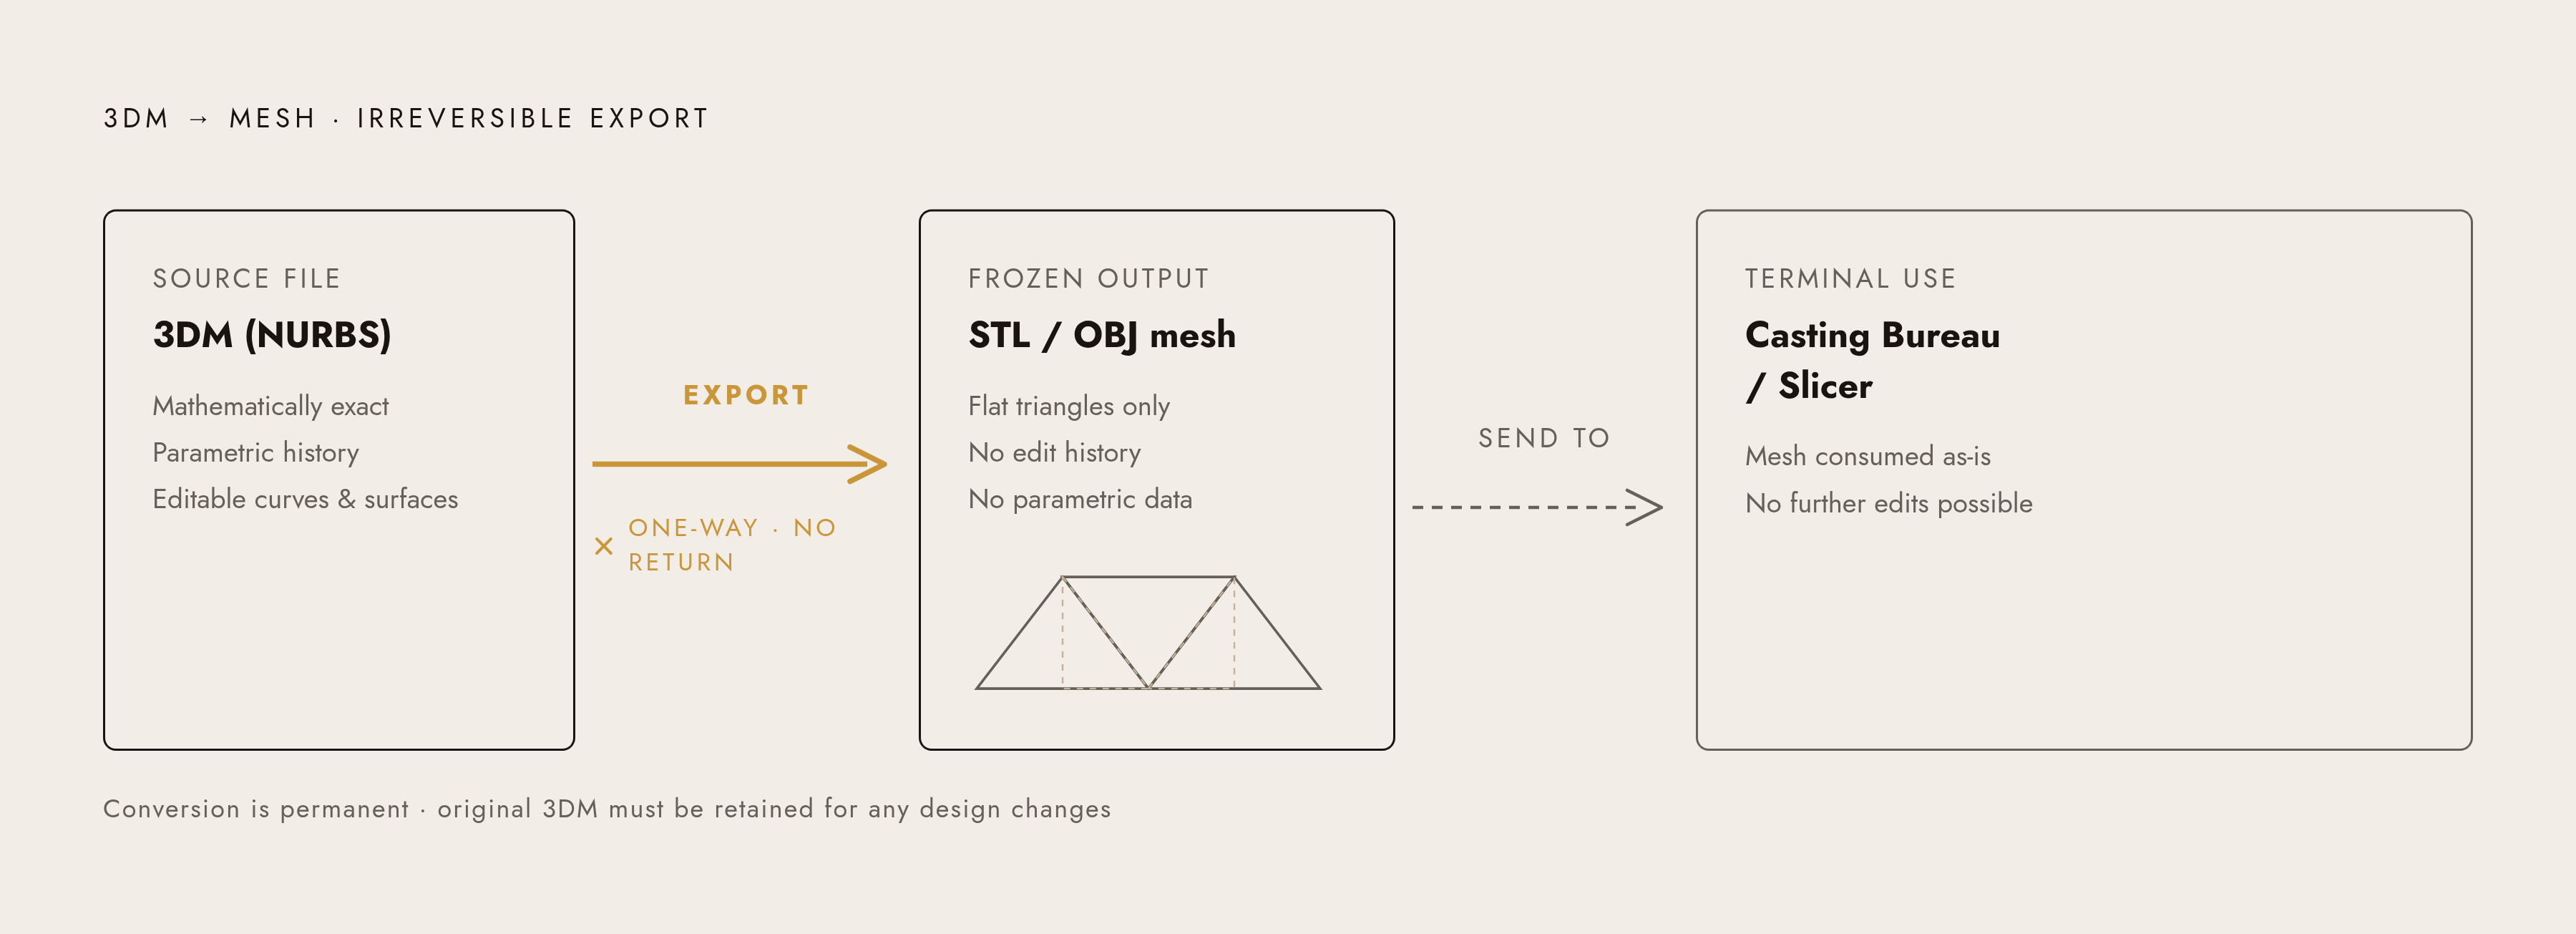
This is the part that trips up even experienced makers. When you export a 3DM to STL or OBJ, you are replacing mathematically continuous surfaces with a grid of flat triangles. That is what a mesh is: an approximation of a curve using lots of tiny flat faces stitched together.
The curve is gone. What you have now is a polygon that gets close to the curve. How close depends on your export settings.
Two things go wrong when this step is handled carelessly:
Too low a mesh resolution: Curved prong tips look faceted. Stone-seat edges lose their crisp profile. The detail that exists in the math of the NURBS surface never makes it into the triangle grid.
Too high a mesh resolution: The file becomes enormous. It slows down your slicer. Some casting bureaus have file-size limits it can exceed. You get diminishing returns and operational headaches.
Rhino's recommended export tolerance for fine jewelry is 0.01 mm or lower. That is the setting that preserves micro-detail at the triangle level. Prong tips, pavé gaps, stone seats. If your tolerance is set looser than that on export, you will not see the problem in the viewport. You will see it after casting.
Here is the thing that goes unsaid too often: the conversion from NURBS to mesh is one-way. You cannot go back. There is no "un-mesh" step. The design history, the parametric relationships, the editability — all of it is gone. The STL is a frozen snapshot of whatever the model looked like at the moment you exported.
Which means: if a client asks for a change after you've sent the STL to the casting house, the 3DM is the only file that can absorb that change without a rebuild. If you don't have the 3DM anymore, you are starting over. Keep the 3DM. Always.
STL Is the Production Handoff Format. Here's What "Ready" Actually Means.
STL became the default delivery format for casting and printing because it is universally supported. Every slicer processes it. Every casting bureau accepts it. Some advanced manufacturers will also take a 3DM directly, but if you want a format that works everywhere, every time, STL is it.
What most people miss is the difference between an STL that looks fine and an STL that is actually casting-ready. They are not the same thing.
A casting-ready STL requires:
- Watertight geometry. No holes, no naked edges, no non-manifold faces. The surface must be a fully closed volume. Open edges cause print failures and casting defects.
- Sufficient wall thickness. This varies by metal and casting method, but thin walls collapse in burnout or blow out under casting pressure. Minimum viable thickness needs to be engineered before export, not hoped for after.
- Shrinkage compensation. Metal shrinks as it cools. The STL needs to be scaled up slightly to account for that, or the finished piece comes out undersized.
- Mesh tolerance tight enough to hold your finest details. That 0.01 mm threshold again. Micro-prongs and stone seats are where this spec earns its keep.
There are tools that can repair non-manifold geometry and fill holes automatically. Knowing those tools exist does not mean you skip validation before export. They are a safety net, not a substitute for clean modeling. Global thickness analysis is also worth running before you send anything. It will show you visually where a piece is likely to fail in casting: thin walls, bottlenecks, hairline junctions. Finding those problems on screen costs nothing. Finding them after casting costs you the piece.
One more thing on printing technology, because it directly affects what your STL can actually deliver. DLP and SLA printers can resolve the detail that a well-built STL carries. Micro-prongs, pavé gaps, curved shanks. FDM cannot, regardless of how good the STL is. Layer resolution on FDM is simply too coarse for jewelry-grade detail. A prototype that looks passable on an FDM machine may fail completely at casting resolution.
OBJ Has One Job. It Does That Job Well.
OBJ's defining advantage over STL is that it can carry texture maps and color data alongside the geometry. That is the whole story, really. But in the right context, that is a meaningful advantage.
Where OBJ earns its place in a jewelry workflow:
- Web configurators and visualization platforms. A ring modeled in Blender and imported as OBJ can render the difference between yellow gold, white gold, and rose gold on screen. STL cannot carry that data. OBJ can.
- Photogrammetry imports. Gemstone scans brought in as OBJ files for visually accurate stone placement in a render environment.
- Client-facing renders. Any situation where the client needs to see material differences before approving a design.
OBJ does have a structural quirk that makes it fragile to share: it uses a split-file system. The geometry lives in one file, and the material and texture data lives in a separate companion file. If those files get separated in transit, the visual data breaks. Anyone who has emailed an OBJ and had the recipient see a blank grey model knows exactly what this feels like.
What OBJ cannot do:
- No editability. It is still a mesh. Still a one-way export from the design file.
- Not preferred for casting handoff. STL is cleaner for manufacturing. OBJ does not offer watertight validation the same way.
- No animation support.
The honest summary: OBJ belongs in the review and presentation layer of the pipeline. Not the manufacturing layer.
The Investment Casting Pipeline, Format by Format
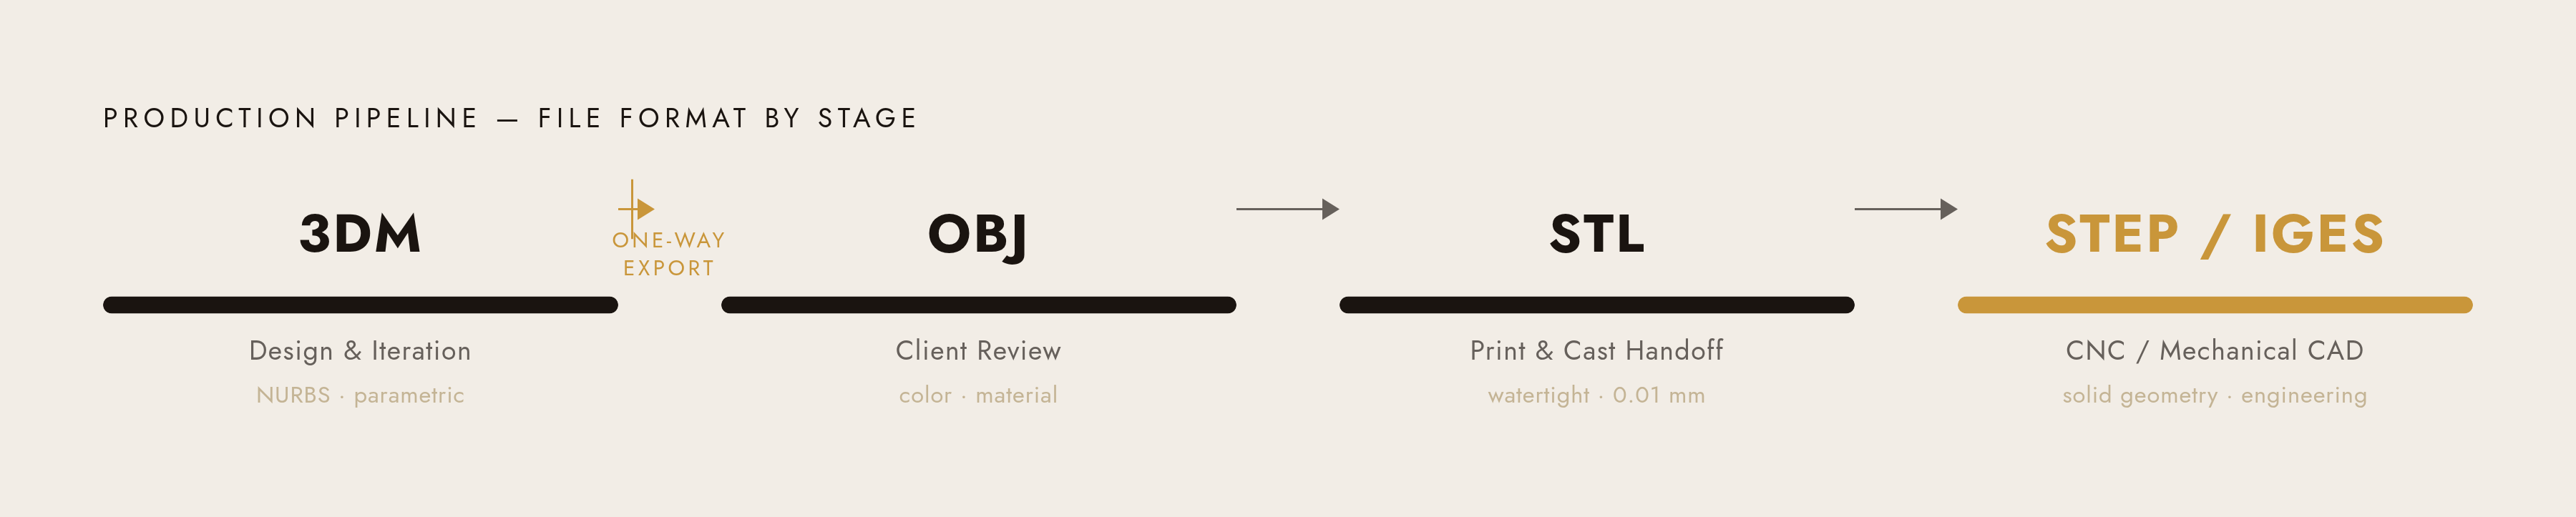
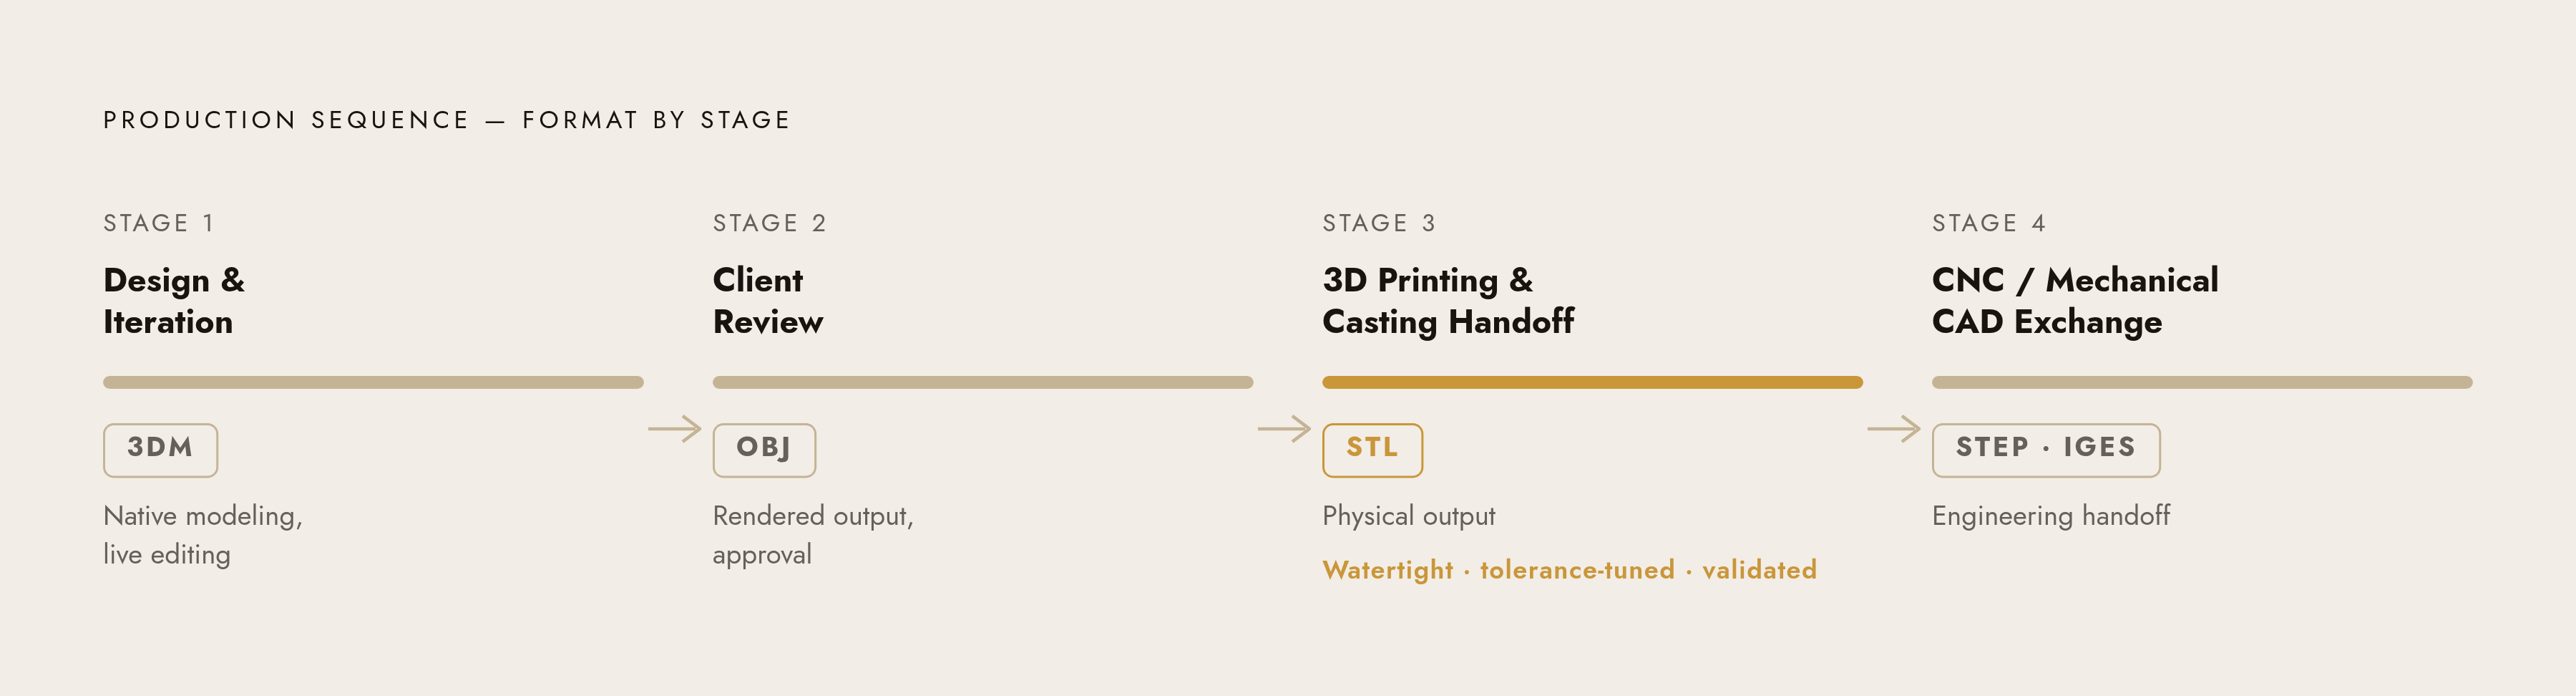
Here is where everything lands when you map it to an actual production sequence:
Design and iteration. 3DM. All edits happen here. Nothing is exported until the design is locked. This is not a preference. This is the only format that preserves editability.
Client review and approval. OBJ or rendered output from the 3DM. Visual fidelity for color and material. The client does not need manufacturing data. They need to be able to see the piece.
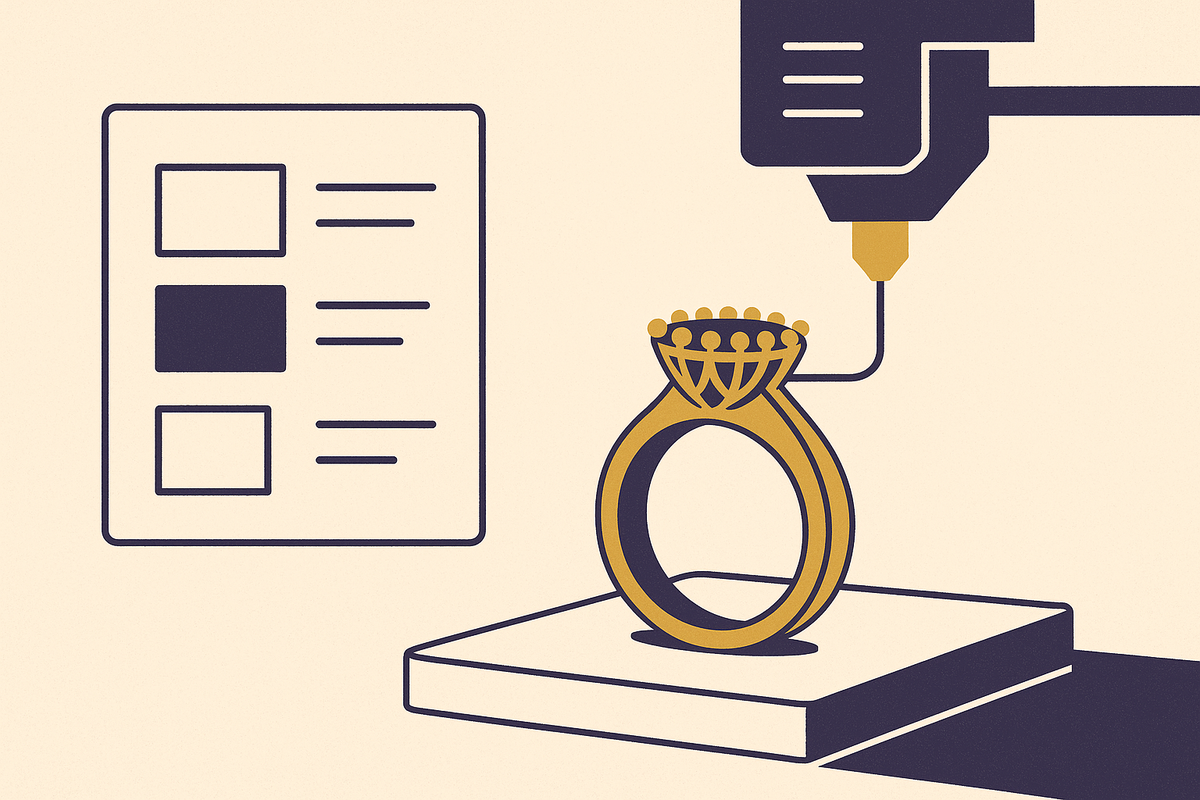
3D printing and casting handoff. STL. Watertight, tolerance-tuned, validated. Ready for the slicer or the casting bureau.
CNC milling or mechanical CAD exchange. STEP or IGES. When the downstream environment is mechanical CAD rather than a slicer, these formats carry solid geometry in a form that engineering software can work with. They are outside the scope of this piece, but worth knowing they exist.
The investment casting context matters here. The digital pipeline does not replace lost-wax casting. It augments it. The 3D-printed resin part replaces the hand-carved wax master. The STL is what makes that master. Everything upstream of that print, the NURBS model, the design decisions, the tolerance calls, lives in the 3DM.
If you are producing at scale with rubber molds, the same logic applies further downstream. The STL-printed master becomes the model for mold pulls. High-temp resins allow vulcanized natural rubber molds. Standard resins work for RTV cold molding. In both cases, the quality ceiling for every mold pull is the quality of the STL that produced the master. Faceted STL means faceted master means faceted molds means faceted wax injections means faceted cast pieces. The error compounds through every step, and no amount of finishing recovers geometry that was never in the file.
Platforms that automate the format handoff, where every customer-approved configuration automatically outputs a production-grade file, are solving for exactly this failure point. The most common source of format error in a jewelry workflow is the manual export step. Remove the manual step, remove the error.
The Mistakes People Actually Make (And When They're Catchable)
These are the format decisions that cost real money. Most of them are easy to avoid once you know to look for them.
Exporting to STL before the design is final. The single most common and most expensive mistake. Any post-export change requires going back to the 3DM or starting from scratch. Treat the STL export as a commitment, not a draft.
Sending OBJ to a casting house. Some bureaus will accept it. That does not mean it is the right call. The split-file fragility and lack of standardized watertight validation make OBJ a poor substitute for STL in a manufacturing context.
Setting mesh tolerance too loose on export. The curved prong tips and stone-seat edges will lose precision. The error is invisible in the viewport. It shows up after casting.
Assuming a visually clean STL is structurally sound. Non-manifold geometry and hidden holes do not show in a standard viewport. They show up as failed prints or miscast pieces. Validate before you send.
Using FDM prototypes to validate a design for casting. A prototype that looks fine in FDM may still fail at the resolution required for casting. FDM cannot hold jewelry detail. Avoid using it to sign off on a design.
Not keeping the 3DM after export. Treating the STL as the archive is treating a photograph as the original painting. The STL cannot be edited. The 3DM can. Keep both.
The discipline that prevents most of these is not complicated. Treat every format transition as a checkpoint, not a file-save action. Validate before every export. Never discard the upstream file. And never, ever export to mesh before every design decision is locked.
That's the whole framework. Format is not a technical detail. It is the structure your entire production workflow runs on.